
product description
It's a big help - in combination with the new m-Unit V.2 - in reducing 'cable clutter' and simplifying wiring harnesses.
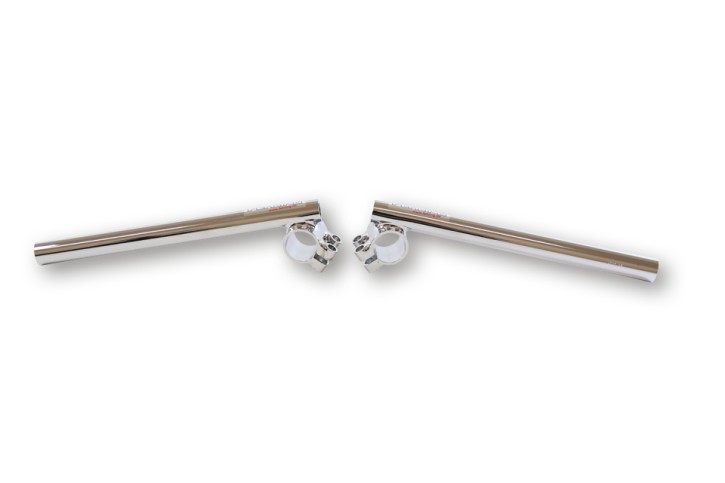
Integrated into the handlebar tube - or any other adequate location - this tiny cylinder will electrically connect all handlebar instruments, switches and buttons.
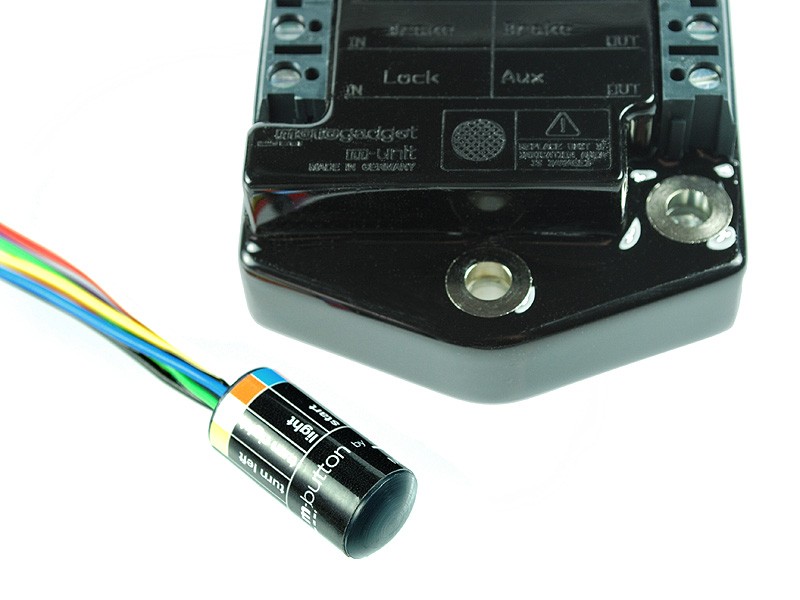
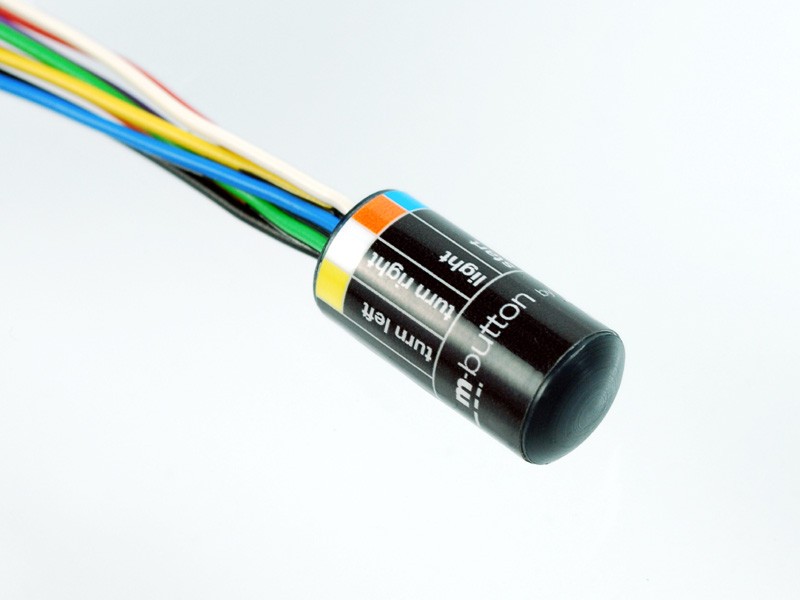
Using state-of-the-art bus technology, the m-Button digitally processes signals and transmits them to the m-Unit V.2 over a thin cable.
The electrical consumers will then be switched inside the m-Unit. All control wires are moved into the handlebar. This saves space, weight, labour and time. A 'must have' for custom bikes with clean-look handlebars.
In simple facts:
a) normally, the operating current (e.g. headlight or turn signals) is transmitted directly via the wiring of the handlebar switches. Due to the high currents, cables with large cross-sections have to be routed from the fuse box to the switch and back to the electrical consumer.
The result: big cable bundles. Definitely, a 'no go' for custom bikes with restricted space or a concealed electrical system.
b) using the m-Unit without the m-Button, just a thin cable for each switch- or button-controlled feature has to be routed to the m-Unit. These cables only carry minute control currents. All high loads and currents are switched directly at the m-Unit and transmitted directly to the electrical consumers. This already leads to a significant reduction and simplification of the wiring harness. Here you can see the example of a circuit diagram.
c) using the m-Unit V.2 in combination with the tiny m-Button, you will once again reduce the amount of cables that have to be routed! All switches/buttons on the handlebar are connected at the shortest distance possible and concealed inside the handlebar. Consequently, you will have to route only ONE thin cable from the m-Button to the m-Unit. All loads and currents will be switched directly at the m-Unit V.2 (see explanations above). A layout reduced to the max! Here you can see the example of a circuit diagram with use of m-Button.
The m-Button is completely moulded in, making it water-tight and resistant to vibrations.
Integrated into the handlebar tube - or any other adequate location - this tiny cylinder will electrically connect all handlebar instruments, switches and buttons.
Using state-of-the-art bus technology, the m-Button digitally processes signals and transmits them to the m-Unit V.2 over a thin cable.
The electrical consumers will then be switched inside the m-Unit. All control wires are moved into the handlebar. This saves space, weight, labour and time. A 'must have' for custom bikes with clean-look handlebars.
In simple facts:
a) normally, the operating current (e.g. headlight or turn signals) is transmitted directly via the wiring of the handlebar switches. Due to the high currents, cables with large cross-sections have to be routed from the fuse box to the switch and back to the electrical consumer.
The result: big cable bundles. Definitely, a 'no go' for custom bikes with restricted space or a concealed electrical system.
b) using the m-Unit without the m-Button, just a thin cable for each switch- or button-controlled feature has to be routed to the m-Unit. These cables only carry minute control currents. All high loads and currents are switched directly at the m-Unit and transmitted directly to the electrical consumers. This already leads to a significant reduction and simplification of the wiring harness. Here you can see the example of a circuit diagram.
c) using the m-Unit V.2 in combination with the tiny m-Button, you will once again reduce the amount of cables that have to be routed! All switches/buttons on the handlebar are connected at the shortest distance possible and concealed inside the handlebar. Consequently, you will have to route only ONE thin cable from the m-Button to the m-Unit. All loads and currents will be switched directly at the m-Unit V.2 (see explanations above). A layout reduced to the max! Here you can see the example of a circuit diagram with use of m-Button.
The m-Button is completely moulded in, making it water-tight and resistant to vibrations.
Customers also purchased